Showing posts with label Mexican. Show all posts

Saturday, August 27, 2011

Zucchini-Beef Tacos

So what do you do when you have a fridge full of zucchini, kids that don't want to eat it as a side dish, and a desire to not bake it into desserts and zucchini bread?


You stick it in everything else you can think of, of course!

This actually turned out really good, and the kiddos just ate it right up as if it were regular beefy taco meat.  (Which actually means that my meat-eaters liked it and my non-meat eaters wouldn't touch it because they don't eat beef...)

So how did I do it?  There's no recipe here because I know you can handle this one without it.  It's really hard to screw up.

First you start to cook your ground beef (or turkey) just like you would any other day you were making tacos.  If you like to add a little onion or garlic, add it in.  Just cook it like usual.  Then, when there's just a little pink left in the meat, dump in the grated zucchini.  (Hint: If your ground beef/turkey is fatty and there's a lot of grease in the pan, drain your meat before adding in the zucchini.)

Then you mix it up and keep cooking.  What you see pictured here is a little over 1/2 lb. of ground beef and one medium zucchini, grated.

Cook until the meat is no longer pink, then add in your usual taco seasoning and water.

Cook and stir until the extra water has cooked out, then serve in tacos, taco salads, or whatever you normally use the taco meat for.   It's excellent!


Tuesday, March 8, 2011

Southwest Burritos

Several weeks ago I was trying to come up with a healthy, fiber-filled lunch for The Honey to take to work. He was getting tired of soups and it was too cold for salads, so I started thinking about filling a tortilla with some yumminess. I started with leftover chicken and black beans, and went from there. The result? "Blog-worthy" were the exact words used by The Honey.

I have finally made them again and tweaked my recipe to get it just right.

Southwest Burritos
(serves 6)

1 can black beans, drained and rinsed
1 c. frozen corn
½ c. instant brown rice (uncooked)
1 c. water
1 ½ c. leftover cooked chicken, chopped
½ c. roasted red bell pepper, chopped
2 Tbsp. fajita seasoning
2 Tbsp. picante sauce or salsa
½ c. shredded sharp cheddar
6 tortillas


Bring beans, corn, rice, and water to a boil in a medium saucepan and simmer, covered, until rice is done (about 10 minutes).


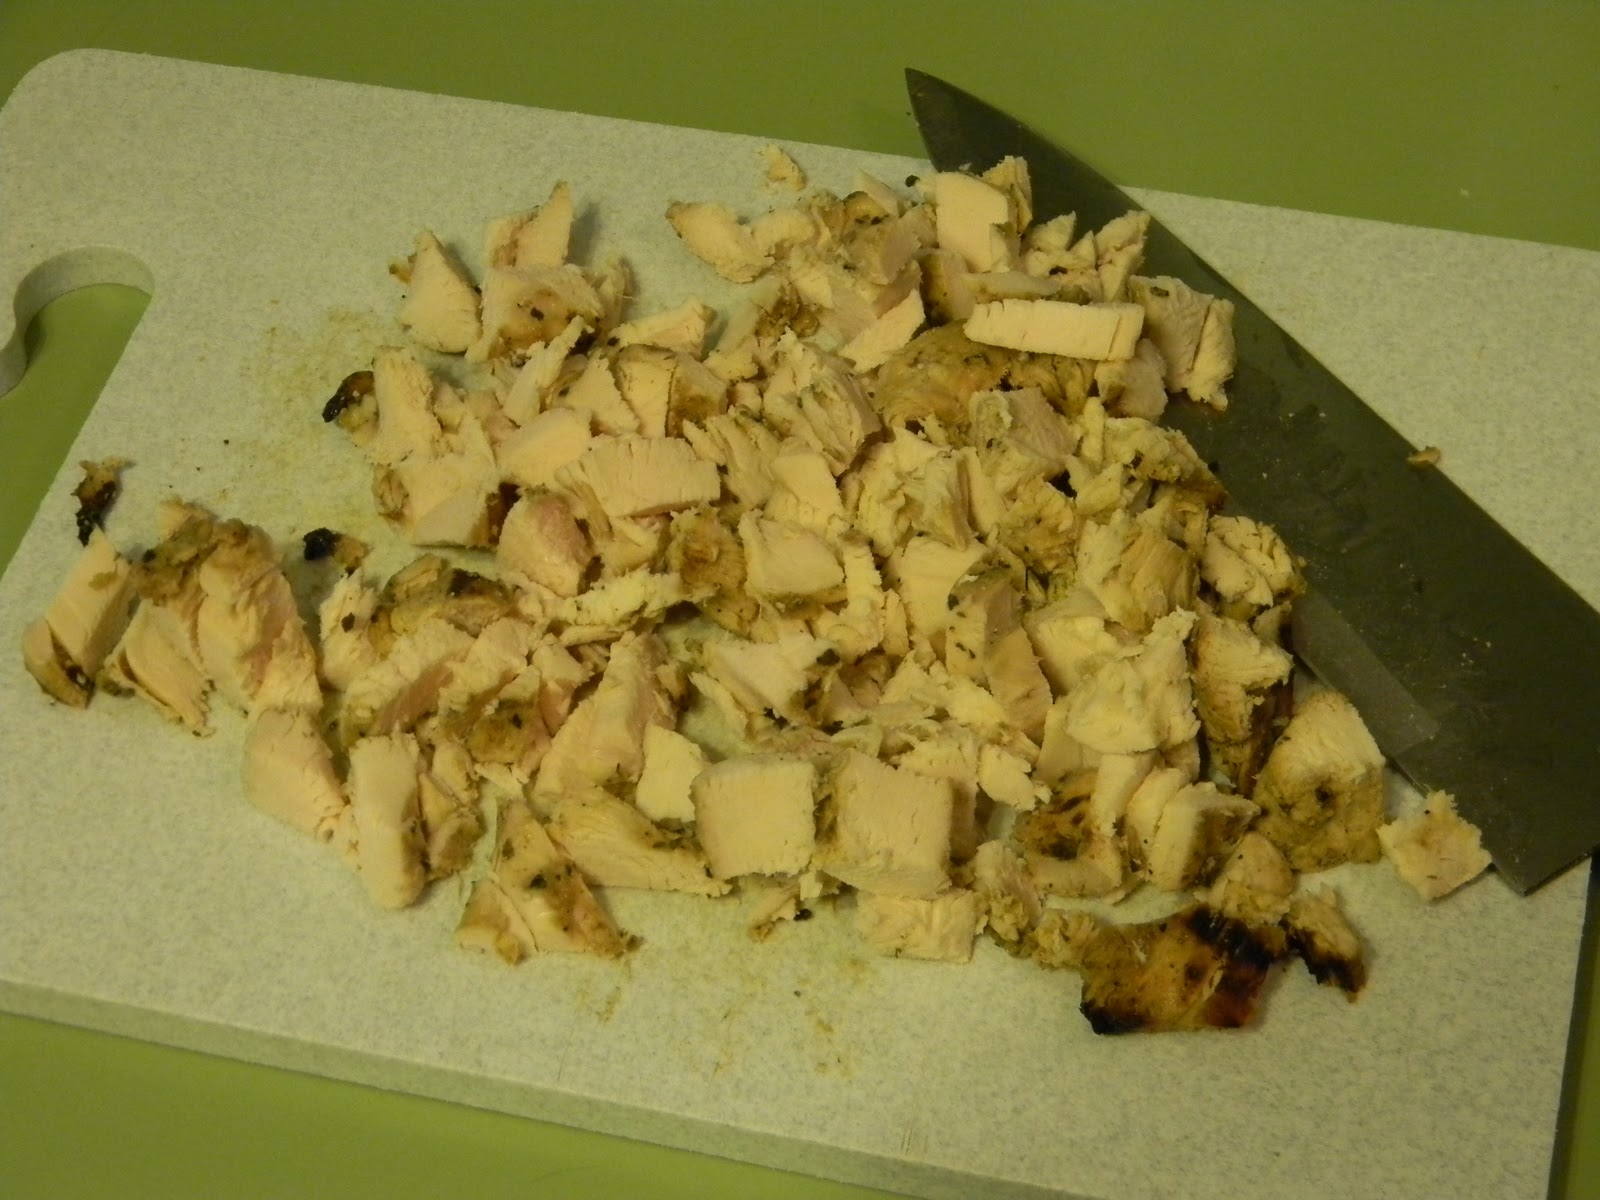
While this is simmering, pull out your leftover chicken. As long as it isn't BBQ chicken, it doesn't really matter how it's seasoned. I have used garlic chicken and grilled basil chicken - both are fabulous. You could also use leftovers from a roasted chicken if you have it. Just chop it up and use it!


Now set aside the chicken and chop up those roasted red peppers. I usually buy the strips so minimal chopping is required.


At this point your rice should be about finished. Remove the lid and add the chicken and peppers to the saucepan, along with the fajita seasoning and picante sauce. If you prefer, you can use salsa, but we are picante sauce fans around here.


Stir it all up and let it simmer till everything is heated through.


Now remove from heat and stir in the shredded cheese.


Spread 1/6 of filling on tortilla of your choice. This time it just so happened that we had some jalapeno tortillas lying around that my sister bought. They add a little kick if you like it spicy! If not, just use regular or whole wheat tortillas.


Roll it up like a burrito and cook for a couple minutes on each side in a medium-hot frying pan. This makes the outside of the burrito a little crunchy and helps it hold its shape better while serving and eating. (No oil or cooking spray required!)


Finally, be sure to wrap up those leftovers in foil to take for lunch! Store in the refrigerator. When reheating, simply unwrap and discard the foil. Place the burrito on a paper towel and microwave for 45 to 60 seconds.


Tuesday, May 11, 2010

Avocado-Lime Pico De Gallo

It's almost embarrassing that it has been a month since my last post.  I don't know how the time gets away from me!  Actually, I do.  I used to blog at night after my kids went to bed.  Lately I've been walking with my neighbor and my dog most nights around 8:30, and since I'm pregnant and tired, I'm in bed by 10:00.  It's a severe strain on my blogging time, let me tell you!

I know I promised you a bread recipe next (for those of you who DID save your potato water from those garlic mashed potatoes), but I'm going to break that promise for two good reasons.  First, it's been hot around here lately, and I don't know about you but when it's hot outside the last thing I feel like doing is turning on my oven for any reason.  But second, and even more important is that this stuff tastes so freakin' good that I couldn't wait another minute to blog about it.  I ate the first batch I made for lunch today with some tortilla chips - the whole batch!  I didn't even wait for the flavors to blend in the fridge first.  To hide my crime I had to make an additional batch to have with our tacos tomorrow night.  Shame on me, but it tasted oh so good!


Avocado Lime Pico De Gallo

1 can diced tomatoes
3 green onions
40-50 leaves of cilantro (about 6 or 7 sprigs)
1 1/2 jalapeno peppers
1/2 tsp garlic powder
1/4 tsp salt
1 Tbsp lime juice
1 avocado

Who would have thought that these simple ingredients could bring such pleasure?

Open the tomatoes and dump them into a strainer in the sink.  DO NOT RINSE WITH WATER.  However, you do want to get the extra juiciness out as much as possible, so shake your strainer just a bit.  As you can see, you'll have some tomato-juice-splatters to clean up later.

Next, let's pour those tomatoes gently onto a cutting board.

I like my tomatoes chopped a little smaller than the can of regular diced tomatoes has them.  One solution for this is to use petite diced tomatoes, but I didn't have any on hand today.  So I opted to just chop them a little more once they had drained.

Next, scrape them into a small bowl.  See how they are still juicy around the edges?  This is good!

 Next we'll do the green onions.  Take three and wash them.  Cut off the very end where the roots come out and about 3 inches or so above that.  Discard both ends and keep the middle.

 We want the green onions finely chopped, and since I don't have a food processor that will do it for me, I start by slicing each green onion down the middle.

 Next I take my knife and cut off slices about 1-2 mm thick.  Voila - we have finely chopped green onion to add to the bowl!

 Now let's move on to the cilantro.  Pick off about 40-50 leaves and chop roughly on the cutting board.  You're done!  Add it to the bowl.

 For the jalapeno peppers, you will start by slicing them down the middle and "seeding" them, which is an easy way of saying cut out the middle parts and keep the outside.  If you're a sissy about spicy stuff like I am, you want to make sure you keep the seeds out of the bowl, so once I have seeded them I rinse them with water to get all the random seeds off of the outer part.

 Next, cut each half into skinny slices.  As you can see, my half was cut into about 8 pieces, which is pretty slim!

 And then we're going to chop each bunch of slices into small pieces, just like the onion only slightly bigger.  And we have... finely chopped jalapenos.  Fancy, eh?

 Once you've added the green onion, cilantro, and jalapeno to the bowl you can also toss in your garlic powder, salt, and lime juice.

 Mix well.
Looks pretty, right?
Well, we're not done yet!

 The reason I have added the avocado last is because you don't want to add it right away unless you're serving this the same day.  A plain avocado will turn brown once it's exposed to the air - kind of like a banana - so unless I'm eating this the day I make it, I won't add it in just yet.  However, when you get ready, here's how you chop that avocado without making a mess.

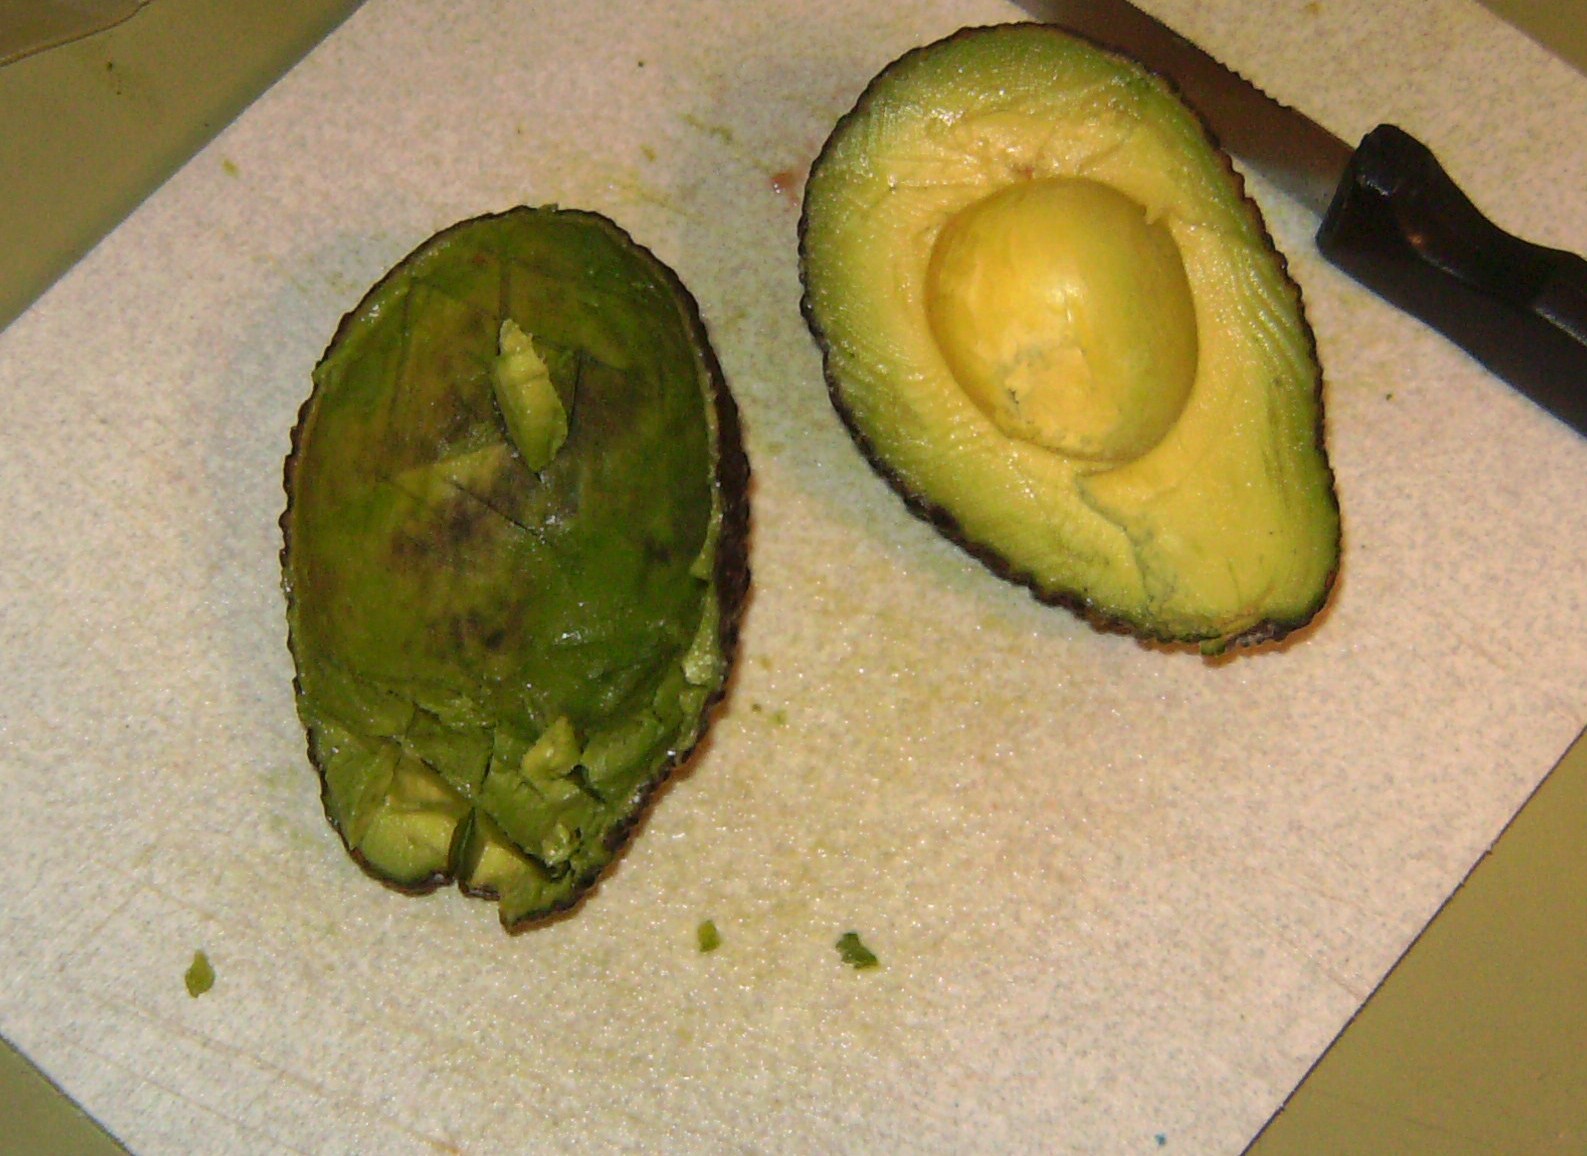
First, cut the avocado in half lengthwise and remove the pit.  Then, using a small knife, cut the avocado flesh into small cubes, being careful not to cut all the way through the skin of the avocado.  What you see should look something like this:

 Next you're going to take a large soup spoon and scrape it along the inside of the avocado peel.  This will scoop that diced avocado right out of the peel and into the bowl...

 ... leaving you with an empty skin.

 Mix in the avocado and you're done! 

Now.  Here's where it get's tricky.  You're supposed to let things like this sit for about 30 minutes or so before you eat them so the flavors will "marry" properly.  If you think you can wait, you go right ahead.  But me?  I usually go ahead and start eating this stuff right away with my tortilla chips.  It's also a great topping to put on your tacos, nachos, or any other Mexican dish.


Sunday, March 28, 2010

Quck & Easy Nacho Cheese

Have you been wondering where the heck have I been?  Perhaps not, but I'll tell you anyway.


Back in February I went to South Carolina for a month with my kids.  We stayed with family, I worked full time, and I cooked very little.

Strike one for the blog.

Right before we left, I also discovered that I was pregnant.  For me, this generally results in an aversion to cooking for a few months.

Strike two for the blog.

So before I strike out completely I thought it was time to get back into the swing of things and start blogging again.  Hopefully the eight of you that actually used to keep up with it haven't given up on me completely!

This little recipe is one that was hatched one night while trying to come up with something to do with leftovers that my kids would eat.  Desperation is often the motivation for innovation.  Didn't someone say that once?  If not, they should have.  Regardless, I browsed a few online recipes for Nacho Cheese and wasn't happy with any of them.  They all called for things that I didn't have or my kids wouldn't eat.  Like jalapeno's for instance.  So we scrapped those ideas and just made up our own.

Nacho Cheese

1 Tbsp real butter
1 heaping Tbsp flour
1/3 to 1/2 c. milk
1 c. shredded cheese
2-3 Tbsp salsa

Start by melting your butter in a small saucepan over medium heat.

Sprinkle in flour and mix till absorbed into the melted butter.

Add the milk a few tablespoons at a time, mixing well.

If you add the milk too quickly (like I did here), you'll end up with clumps.  No worries, just break up as many as you can with your spoon and move on. 

Now it's time to stir in the cheese.  I used a 4-cheese Mexican blend for this batch, but you can use whatever you think you'd prefer. If you like your nacho cheese a little spicy, try some pepper jack!

Once the cheese is just about melted, go ahead and stir in the salsa.

Continue cooking and stirring until cheese sauce is completely melted together.

You can serve this any number of ways.  You can use it as a dip like any other nacho cheese, or you can make fajita nachos like we did.  Just heat up over your leftover fajita filling (click here for my recipe), put it on top of corn chips and drizzle the whole thing with nacho cheese.  It's a fabulous way to take care of those leftovers.

Saturday, January 23, 2010

Beef Enchiladas

Many moons ago Barbara - You remember her, right?  Author of the yummy fajita soup? - also gave me her recipe for enchiladas.  We make a good bit of Mexican food around here, but somehow I never got around to making this recipe.  I'll be honest.  When I have to cook dinner in a hurry it's almost always something Mexican, like black bean and tomato quesidillas, chicken fajitas, or tacos.   When I'm in a hurry I don't always think about trying something new, and because it's my "fallback" I don't usually cook Mexican on other nights.

And so, this recipe sat collecting dust in one of my many piles on my kitchen counter.  As I was cleaning and trying to go through my junk important papers over Christmas I came across this recipe again.  I decided to try it on my family one night with chicken.  The recipe she gave me ends up with a lot of enchilada sauce and though I really liked it the Peanut Gallery came back with a "good, but too tomato-y" review.  So, I thought of some changes I could make, and determined I would try again in a few weeks.

This week was our big night.  The Honey was working late on Tuesday and I got busy in the afternoon with some things and by the time I looked at the clock I realized it was after 5:00.  The only meat I had that wasn't frozen was a big pack of ground beef in my fridge that I had just bought the week before and hadn't frozen yet, and I hadn't done my grocery shopping yet for this week.  However, I did have some leftover tortillas that I could use...   And so beef enchiladas it was!

I'm going to go ahead and post both the recipe I used this past week as well as Barbara's original recipe.  I really like how she used beans in her filling.  However, I chose not to use them this week since Horse Lover hates them and The Honey wasn't going to be home in time for dinner anyway.  Besides, I only needed to make 5 enchiladas.  I wasn't opening a whole can of beans for that.  So although you won't see any beans in my pictures, I'm going to go ahead and post the recipe as I would make it if I were making a full batch for dinner.


Beef Enchiladas

Enchilada Sauce
1/2 c. tomato sauce or pureed diced tomatoes
1/2 c. salsa
1/4 c. taco seasoning (about 1 packet)

Filling
3/4 lb. ground beef, cooked, rinsed and drained
1 can fat-free refried beans
2 tsp. onion powder
1 tsp. garlic powder
salt/pepper to taste

You will also need...
Shredded cheese, pepper jack or Mexican blend
10 taco-size tortillas


Mix together your tomato sauce, salsa, and taco seasoning.  Set aside.
(Remember, I made a half-batch so you'll need to use a bigger bowl to mix this than pictured.)

Place cooked beef and refried beans (just pretend they are there, okay?) in a large pan.  Heat through and add onion powder, garlic powder, and salt/pepper to taste.

Okay, now it's time to assemble these babies.  Go ahead and prep your enchilada pans.  If making a full batch you'll probably need 2 rectangular casserole dishes as wide as the tortillas.  Coat with cooking spray and spoon a light covering of enchilada sauce on the bottom of the pan.  Then, put a portion of your meat mixture on a tortilla and top with cheese.

Place your rolled enchiladas into your prepared pans. 

Top with remaining enchilada sauce.

Now sprinkle some more cheese.  As you can see, I have both pepper jack and co-jack lovers in my house so I did a mix in my pan.

Bake at 400 degrees for about 15 minutes, or until heated through.

Make ahead tip:
Cover the pan(s) with aluminum foil and stick in the fridge.  To reheat, bake at 350 for 30 minutes.


And for those who want to try it, here's the original sauce recipe!

Barbara's variation:
Mix one small can of tomato paste with 1/4 c. taco seasoning.  Add enough water to get it the consistency of a thicker sauce.  This will make a lot of sauce, probably more than you need.  Barbara likes to serve it with dinner for those that want more sauce.
Blog Widget by LinkWithin